May 28th 2023
Konica EFP 2
A certain type of camera was gaining in popularity in the mid 1980s. Not because of any new features, technological advancements, or design. It was the price. These cameras followed a fixed focus, slower lens, one shutter speed, and flash centric design. A staple of convenience and grocery stores, usually including a roll of film and marketed to vacation goers. They were inexpensive and given to kids, used as giveaways, or even found their way to being the family camera. In the mid 1980s, adhering to this new trend, another entry in the C35 line debuted. In 1984/85 the Konica EFP 2 found its way to store shelves, reintroducing the series and spawning a handful of new models for over a decade.
The sequel to a cost reduced classic
A camera brand returning to an old name or continuing one for decades can be a death sentence. Loosely associated with the past, and a name that can sell. Sixteen years after the Konica C35, nine years after the C35 EF, and six years after the C35 EFP… the C35 moniker was dropped and the EFP name was resurrected once again for the introduction of the EFP 2. The exact date is a bit hard to pinpoint, being the only thing I was able to find were ads in the back of Popular Photography from late 1985. I would say 1984/85 would be around the right time frame. Almost nothing was written about the camera then, and very few now. I’m not at all surprised, given this is an extremely basic camera and fairly uncommon.
The EFP 2 looks the part of 80s futuristic design and takes similar cues of Hi-Fi systems of the era. An all black body, with molded rectangular textures, and only brief hints of color make for a simple but a well executed design. The EFP 2 has a solid feeling and significant weight in the hand, due to literal metal weights inside the bottom of the camera. Some time was put into the viewfinder design as well, having a textured decoration within. However, that is all window dressing to what is a very simple camera; a fixed focus point and shoot with a flash.
To load the camera, you will need to look to the back on the left side. There is a switch indicating something opening and closing and this will release the film door. Load the film like most other 35mm cameras and wind the film with a wheel above the film door on the right. On the top of the camera is a square shutter button to the right hand side and frame counter to the left of it, with a rewind knob on the far side. Looking at the back once again, if you look through the viewfinder you will see something a bit out of the ordinary, frame lines and a parallax correction area, not really seen on other cameras of this type.
Moving to the bottom, you have a standard rewind release button and a somewhat unique latching mechanism for the battery compartment. The EFP 2 takes two AA batteries for the flash, while the rest of the camera’s operation is purely mechanical. To use the flash, there is a grey colored silder next to the flash fresnel that you need to push up to begin charging. This motion also changes the cameras aperture to the largest available, around f/4.5 or f/5.6 I would say. Once the flash is fully charged, a lamp to the left of the viewfinder will light up and you are ready for a flash picture. You are able to cancel the flash by pushing the slider down. Another thing to mention is if you remove the batteries and put the camera into flash mode, this will still open up the aperture to the widest setting and let you shoot.
You have one last control on the camera, located underneath the lens. There is a sliding switch, used to change the aperture in relation to the film speed. The switch is marked with an ISO of 100/200 and 400, correlating with an aperture of around f/8 to f/16. The shutter speed is fixed at 1/125th of a second and with the three available apertures, the camera is indeed limited but you do have more control than you would think. Lastly, the sides of the camera are bare apart from a hand strap, and the bottom houses the battery door and rewind release button.
The introduction of this camera seems to have spawned a handful of EFP, Pop, Mr, and other models. A lot of which seem to be the same lens and flash but in a different looking package. The EFP 2 seems to have only come in one color and was one of the odd ones out in the series. It did not have filter threads, while the EFP and EFP 3 did. Along with not having a built in lens cover like the EFP 20 and other later models.
THE SPECS AND FEATURES
Shutter Speeds - around 1/125th of a second
Aperture - dependent on ASA selected
ASA 100/200 (around f/8 to f/11)
ASA 400 (around f/11 to f/16)
flash on (around f/4.5 to f/5.6)
Meter Type - none
Focus - fixed 1.5 meters (~5 feet) to infinity
focal point at 2.8 meters (~9 feet)
Shutter - metal leaf
ASA - 100/200, 400
Lens - 38mm Hexanon
Flash Option - built in, manual switch
Batteries - 2 AA
Film Type - 35mm
Other Features - none
The Experience
With my new appreciation for fixed focus cameras, I remembered that I had a broken Konica that was included in a lot I purchased a long time ago. The camera had a few issues, and I had completely taken it apart, not being able to figure out the problem, and was left in pieces in a parts cameras box. I wanted to work on getting better with flash repairs, given a lot of ‘ as-is/ broken’ point and shoot cameras listed online tend to have flash issues. I dug through multiple boxes trying to remember what bits belonged to the camera, and somehow found all the pieces to assemble the camera again.
I remembered that there was something odd with the winding, but I was not sure if that and the flash were correlated. With the camera already disassembled, I decided to check out the flash and see if there was anything obvious. The battery contacts showed signs of corrosion and the flash circuit board was directly connected to the contacts. The board had corrosion damage, and some of the components were in very rough shape. Before I continue, a word of warning here. Something that I always will say when it comes to working on flashes, is you need to be careful. Do your research before working on flashes and know how to protect yourself.
The traces on the circuit board looked intact, but the solder mask was a bit rough in spots. I decided to ‘beep it out’, checking the continuity of every trace and checking for cracks or cold solder joints on the board. All traces checked out but there was one extremely corroded resistor that I quickly swapped before attempting to power it on. I applied three volts to the board, and could not hear the typical flyback, flash charging sound. Checking the voltage at varying points on the board, some of the flyback pins were not receiving the correct voltage and it was outputting nothing. In instances like this you should look to the transistor that regulates power to the flyback. On simpler and older flashes, a single transistor does a lot of heavy lifting and can wear out just from use. This is especially apparent with these types of cameras, and may be why they are uncommon. Once the flash was broken, they were cheap enough to easily be thrown away.
It was a common transistor used with disposable cameras, but that common was over 30 years ago. Finding a modern replacement online, I ended up ordering a pack of them, but they were shipping from across the world and would take several weeks. Impatient, I decided to do some digging around. I have a handful of corroded out point and shoots, way beyond any type of repairs. These are great for finding odd size screws, switches, buttons, and flash bits. Scavenging around, I found one with a very similar NPN transistor, rated at a different maximum voltage. I tried it and nothing. It was close but not close enough. Repairing a flash this simple needed an equally simply made flash. I finally found one in a very beat up Focal branded camera. The flash board was heavily corroded, but the transistor was thankfully spared.
Soldered in, I tested the board and it immediately started charging. I discharged the flash capacitor, and put the camera back together… I would say around ten or so times. The flash board is heavily condensed and components really like to short on each other. Every so often a wire would break as well, and after a few choice words and moments of needing to slowly breathe, I got everything back together. Testing the flash a handful of times, it worked perfectly and seemed to be correctly synced with the shutter.
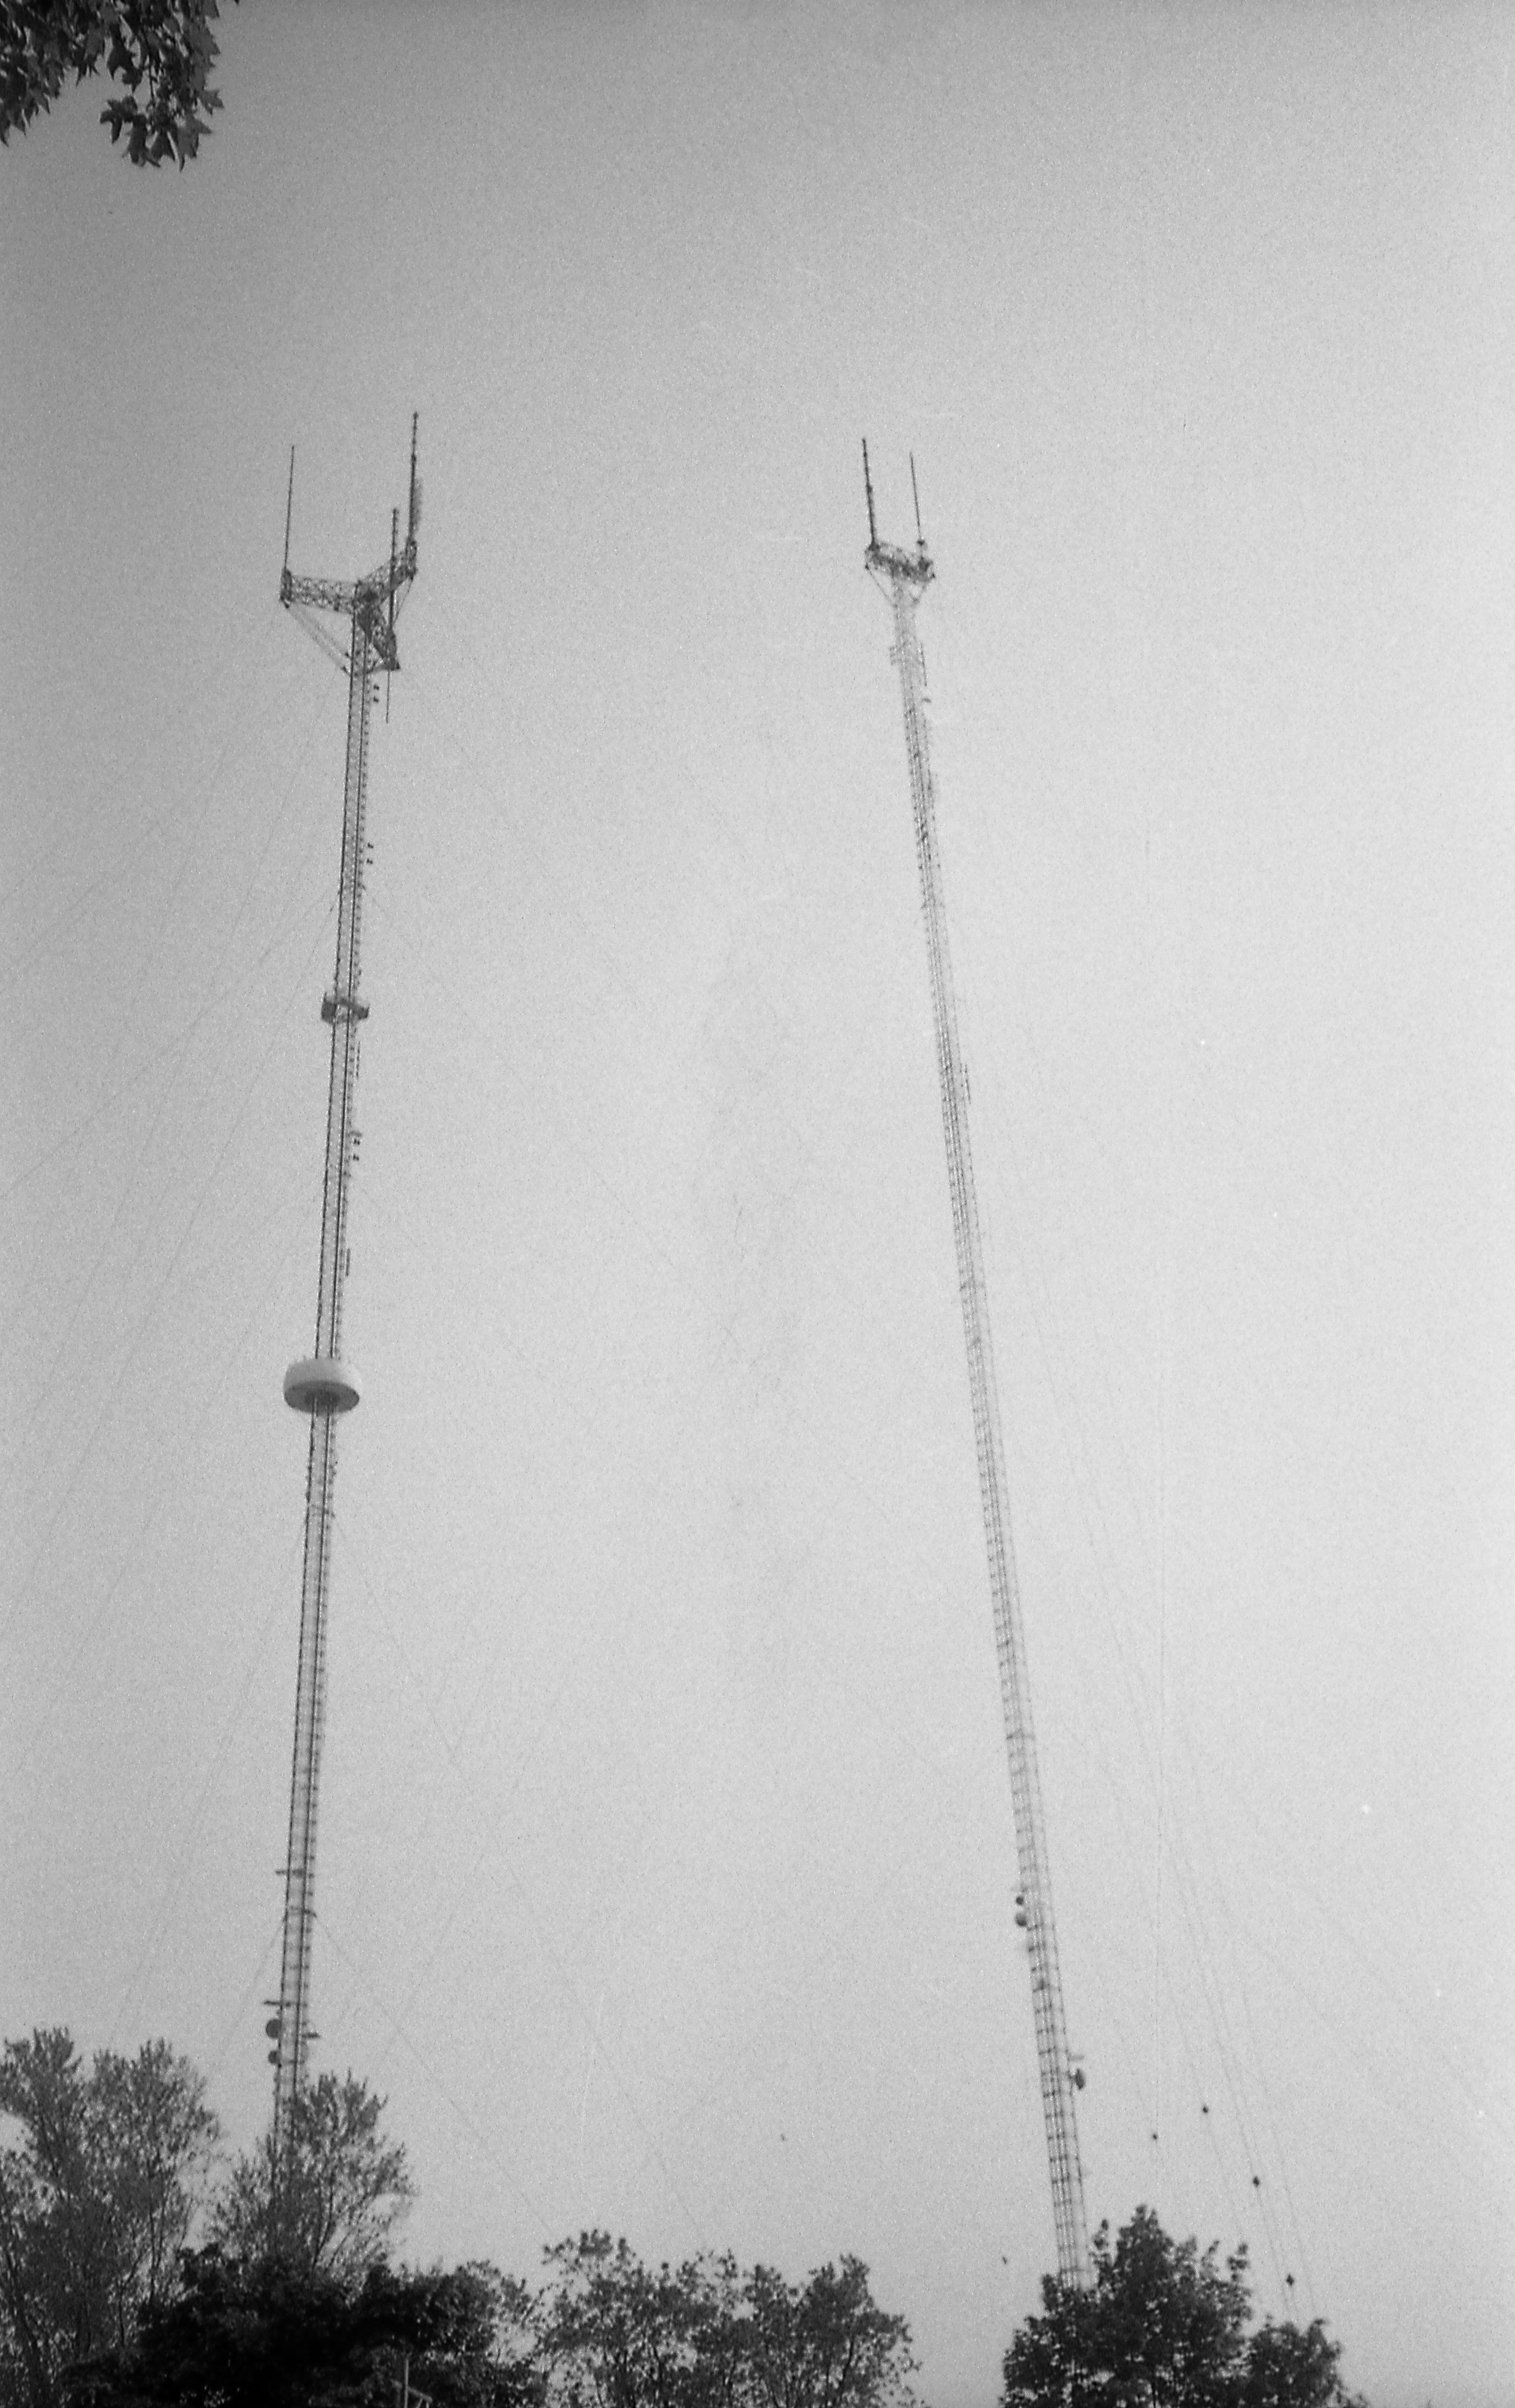
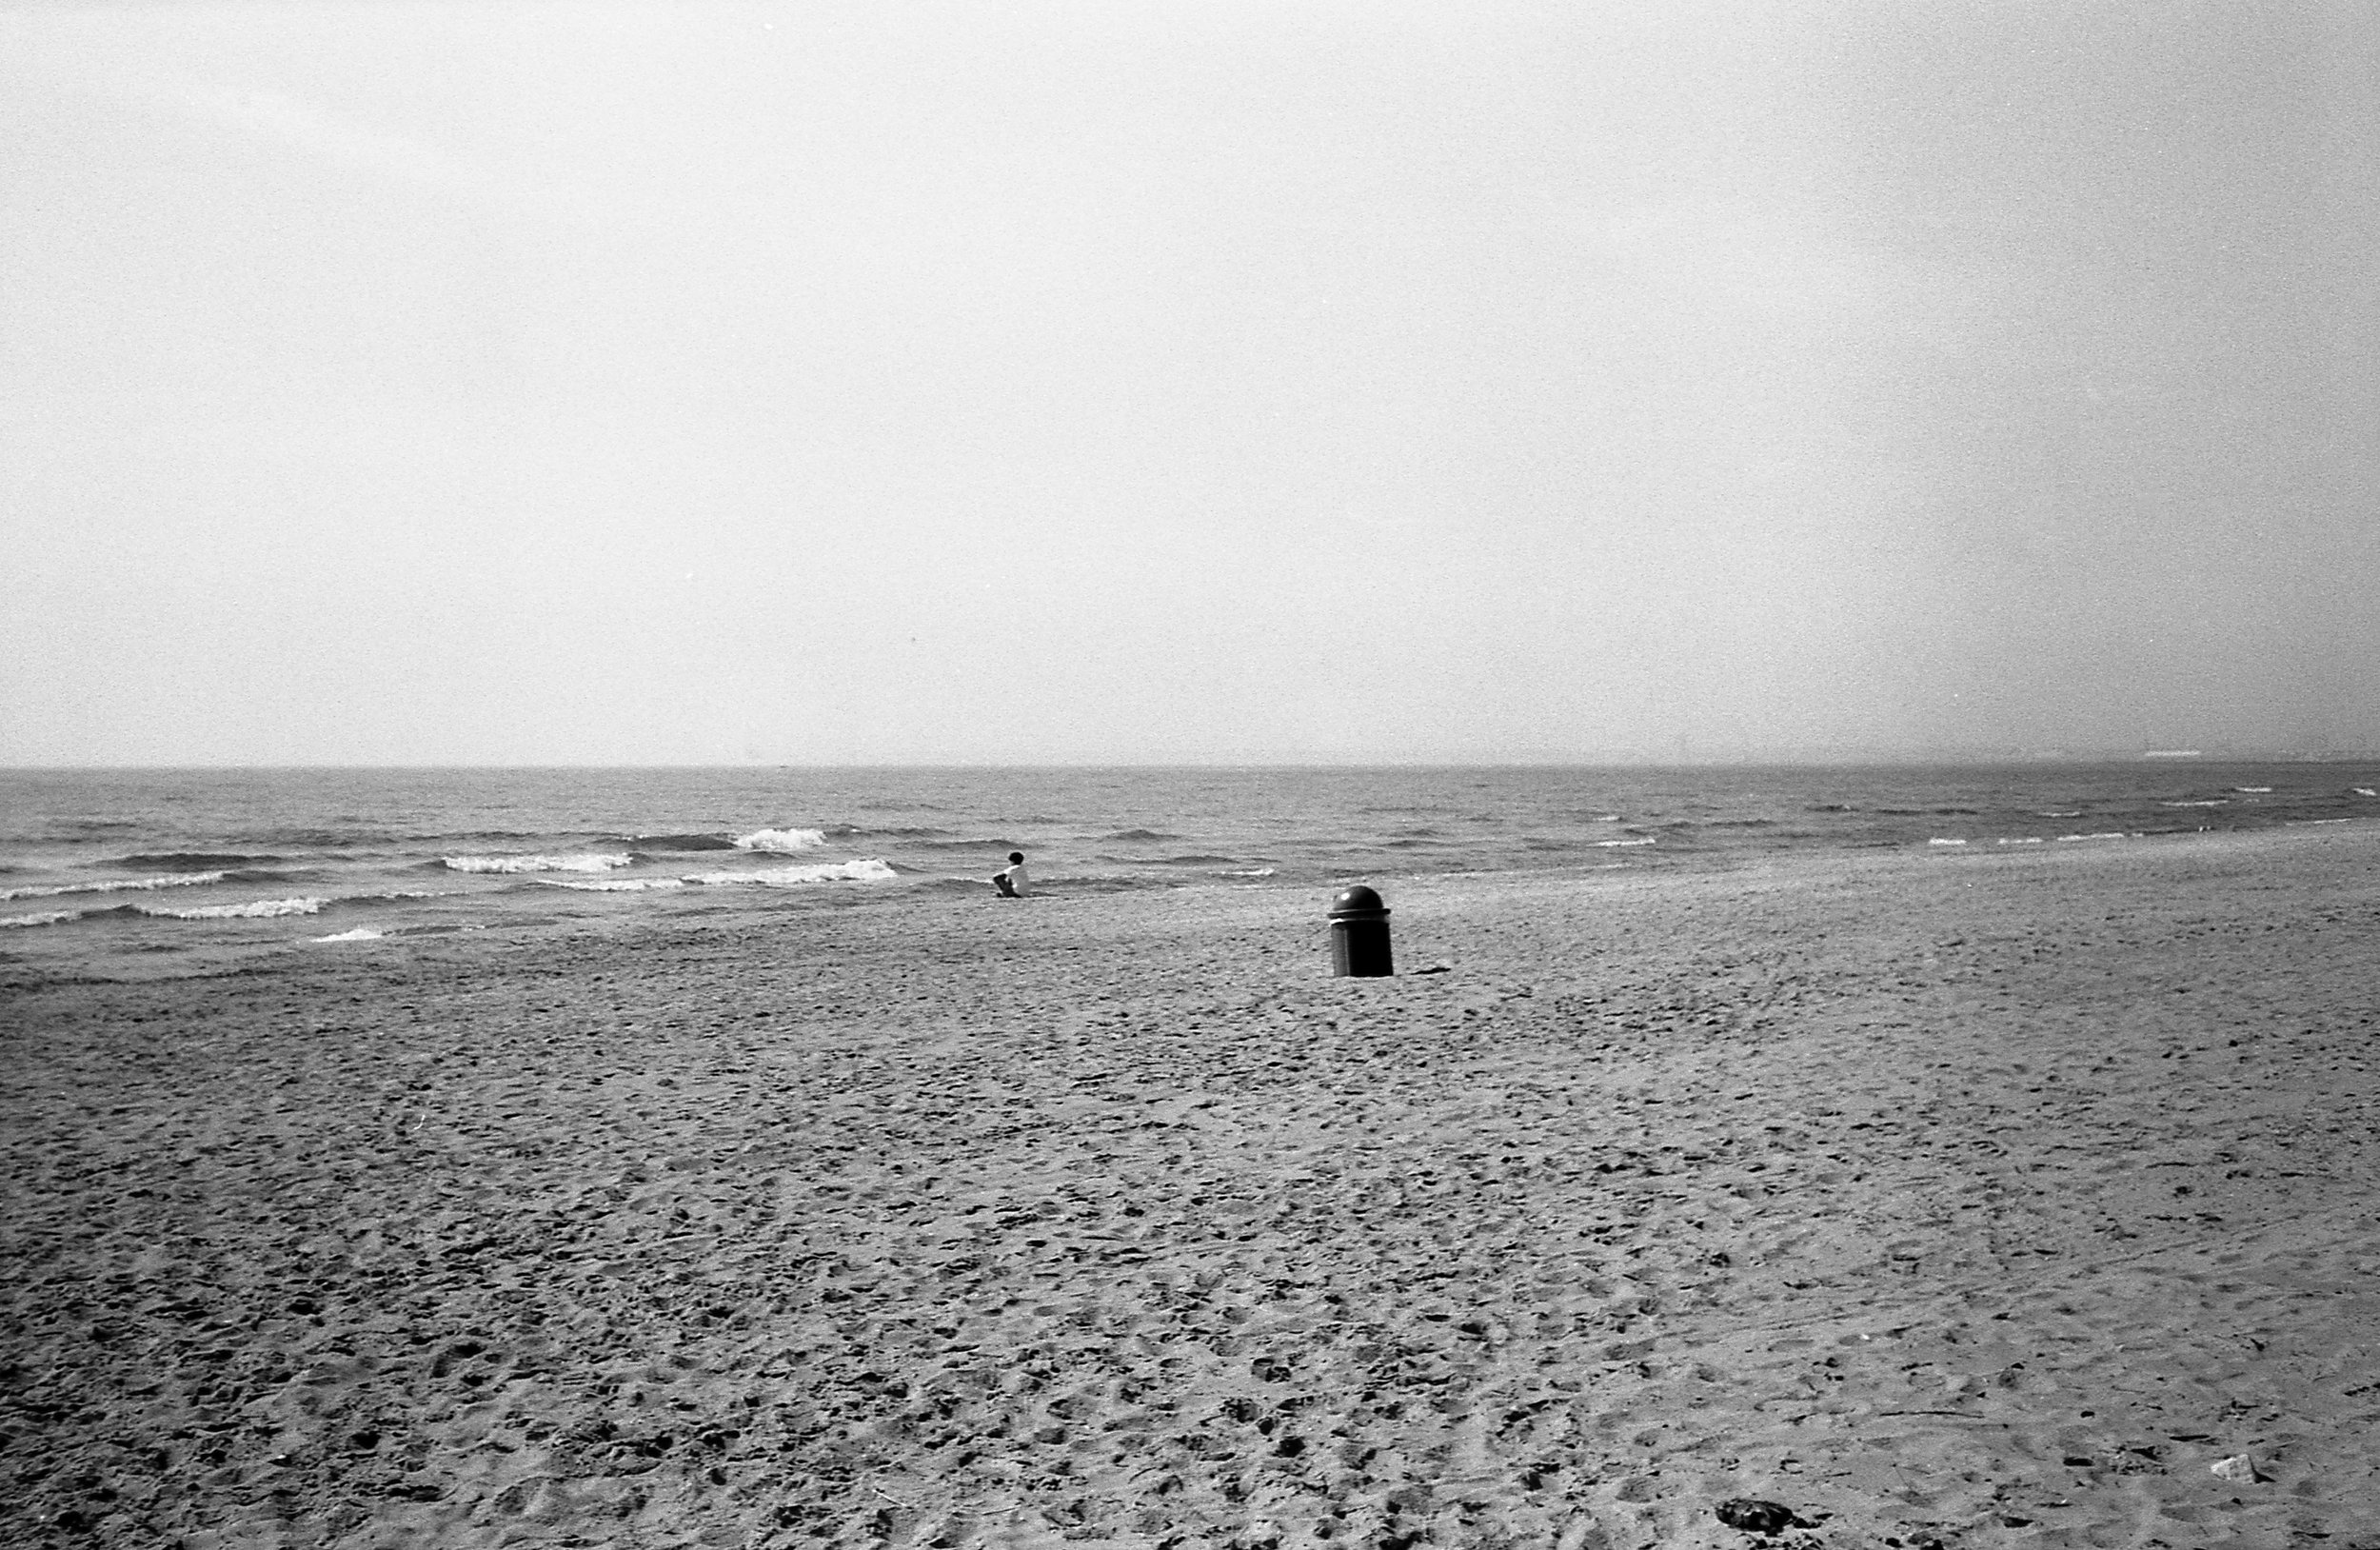
For the first outing, I wanted to do a baseline point and shoot kind of test. Not worrying about exposure and just using the camera in a variety of lighting situations. I used a 100 speed Ultrafine black and white film and took pictures in the blazing sun on the beach, to an early morning shadow laden woods. It did as well as you would suspect. Most pictures were not that great, but there were a few in the woods that I really liked. The lens is indeed slow, with vignetted corners at ISO 100 and a definite point of focus.
After unloading the camera, a new problem presented itself. The sprocket mechanism mainly drives the film, with the takeup spool having some tension. It has some inherent friction but can freely spin when enough force is applied during rewinding. This is done by in inner spindle that is always engaged with the outer sleeve that grabs and winds the film. It’s designed to have a tight tolerance, and the plastic being over 30 years old gave up. The sprocket mechanics was strong enough to make up for this, but I needed to add felt inside the spool to help create more winding tension. A quick fix, but a new issue I have not run across until now.
Leaning into the philosophy of the EFP 2, I decided to take the camera with me to Easter, as the family holiday photo type. I chose HP5+ shot at 400, wanting to do the same test as before but stand developing. Overall better results and every picture turned out fine with only a few needing correction. The picture I took of my father really shows that this camera’s lens can render a scene very well. At this point I was realizing that the camera seems to do ok at landscape type shots, but does much better at a closer range at around 4-15ish feet.
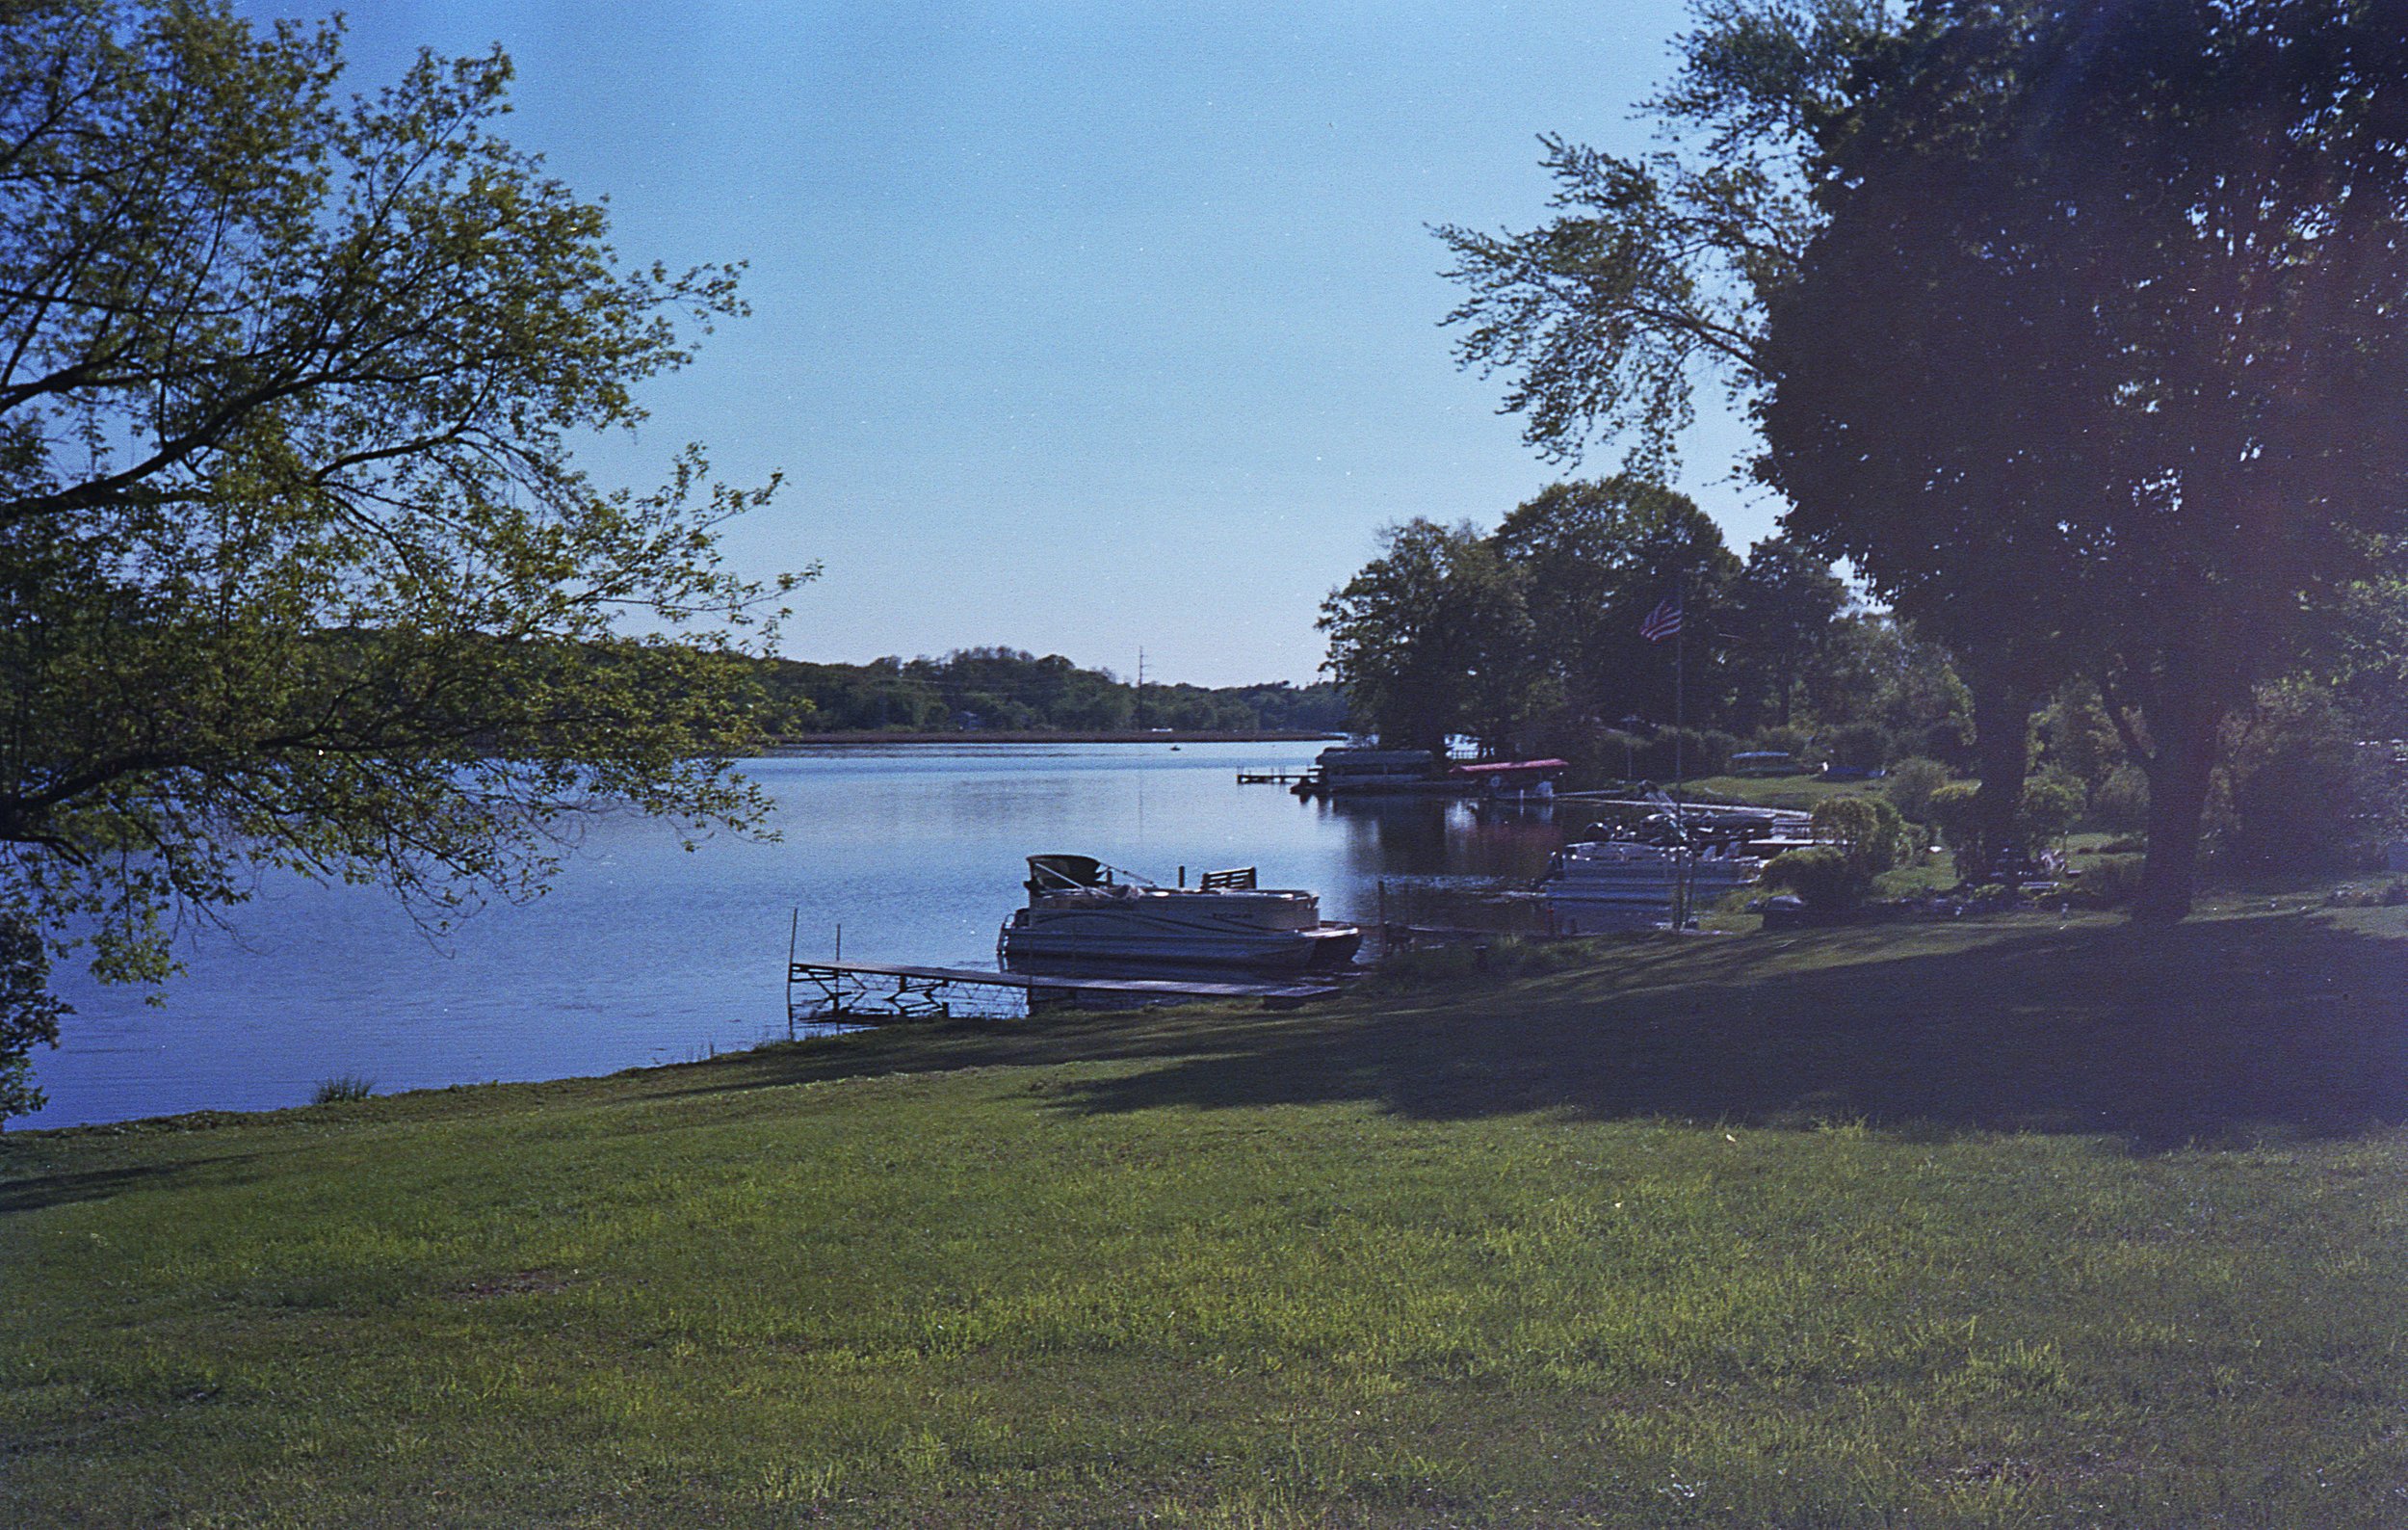
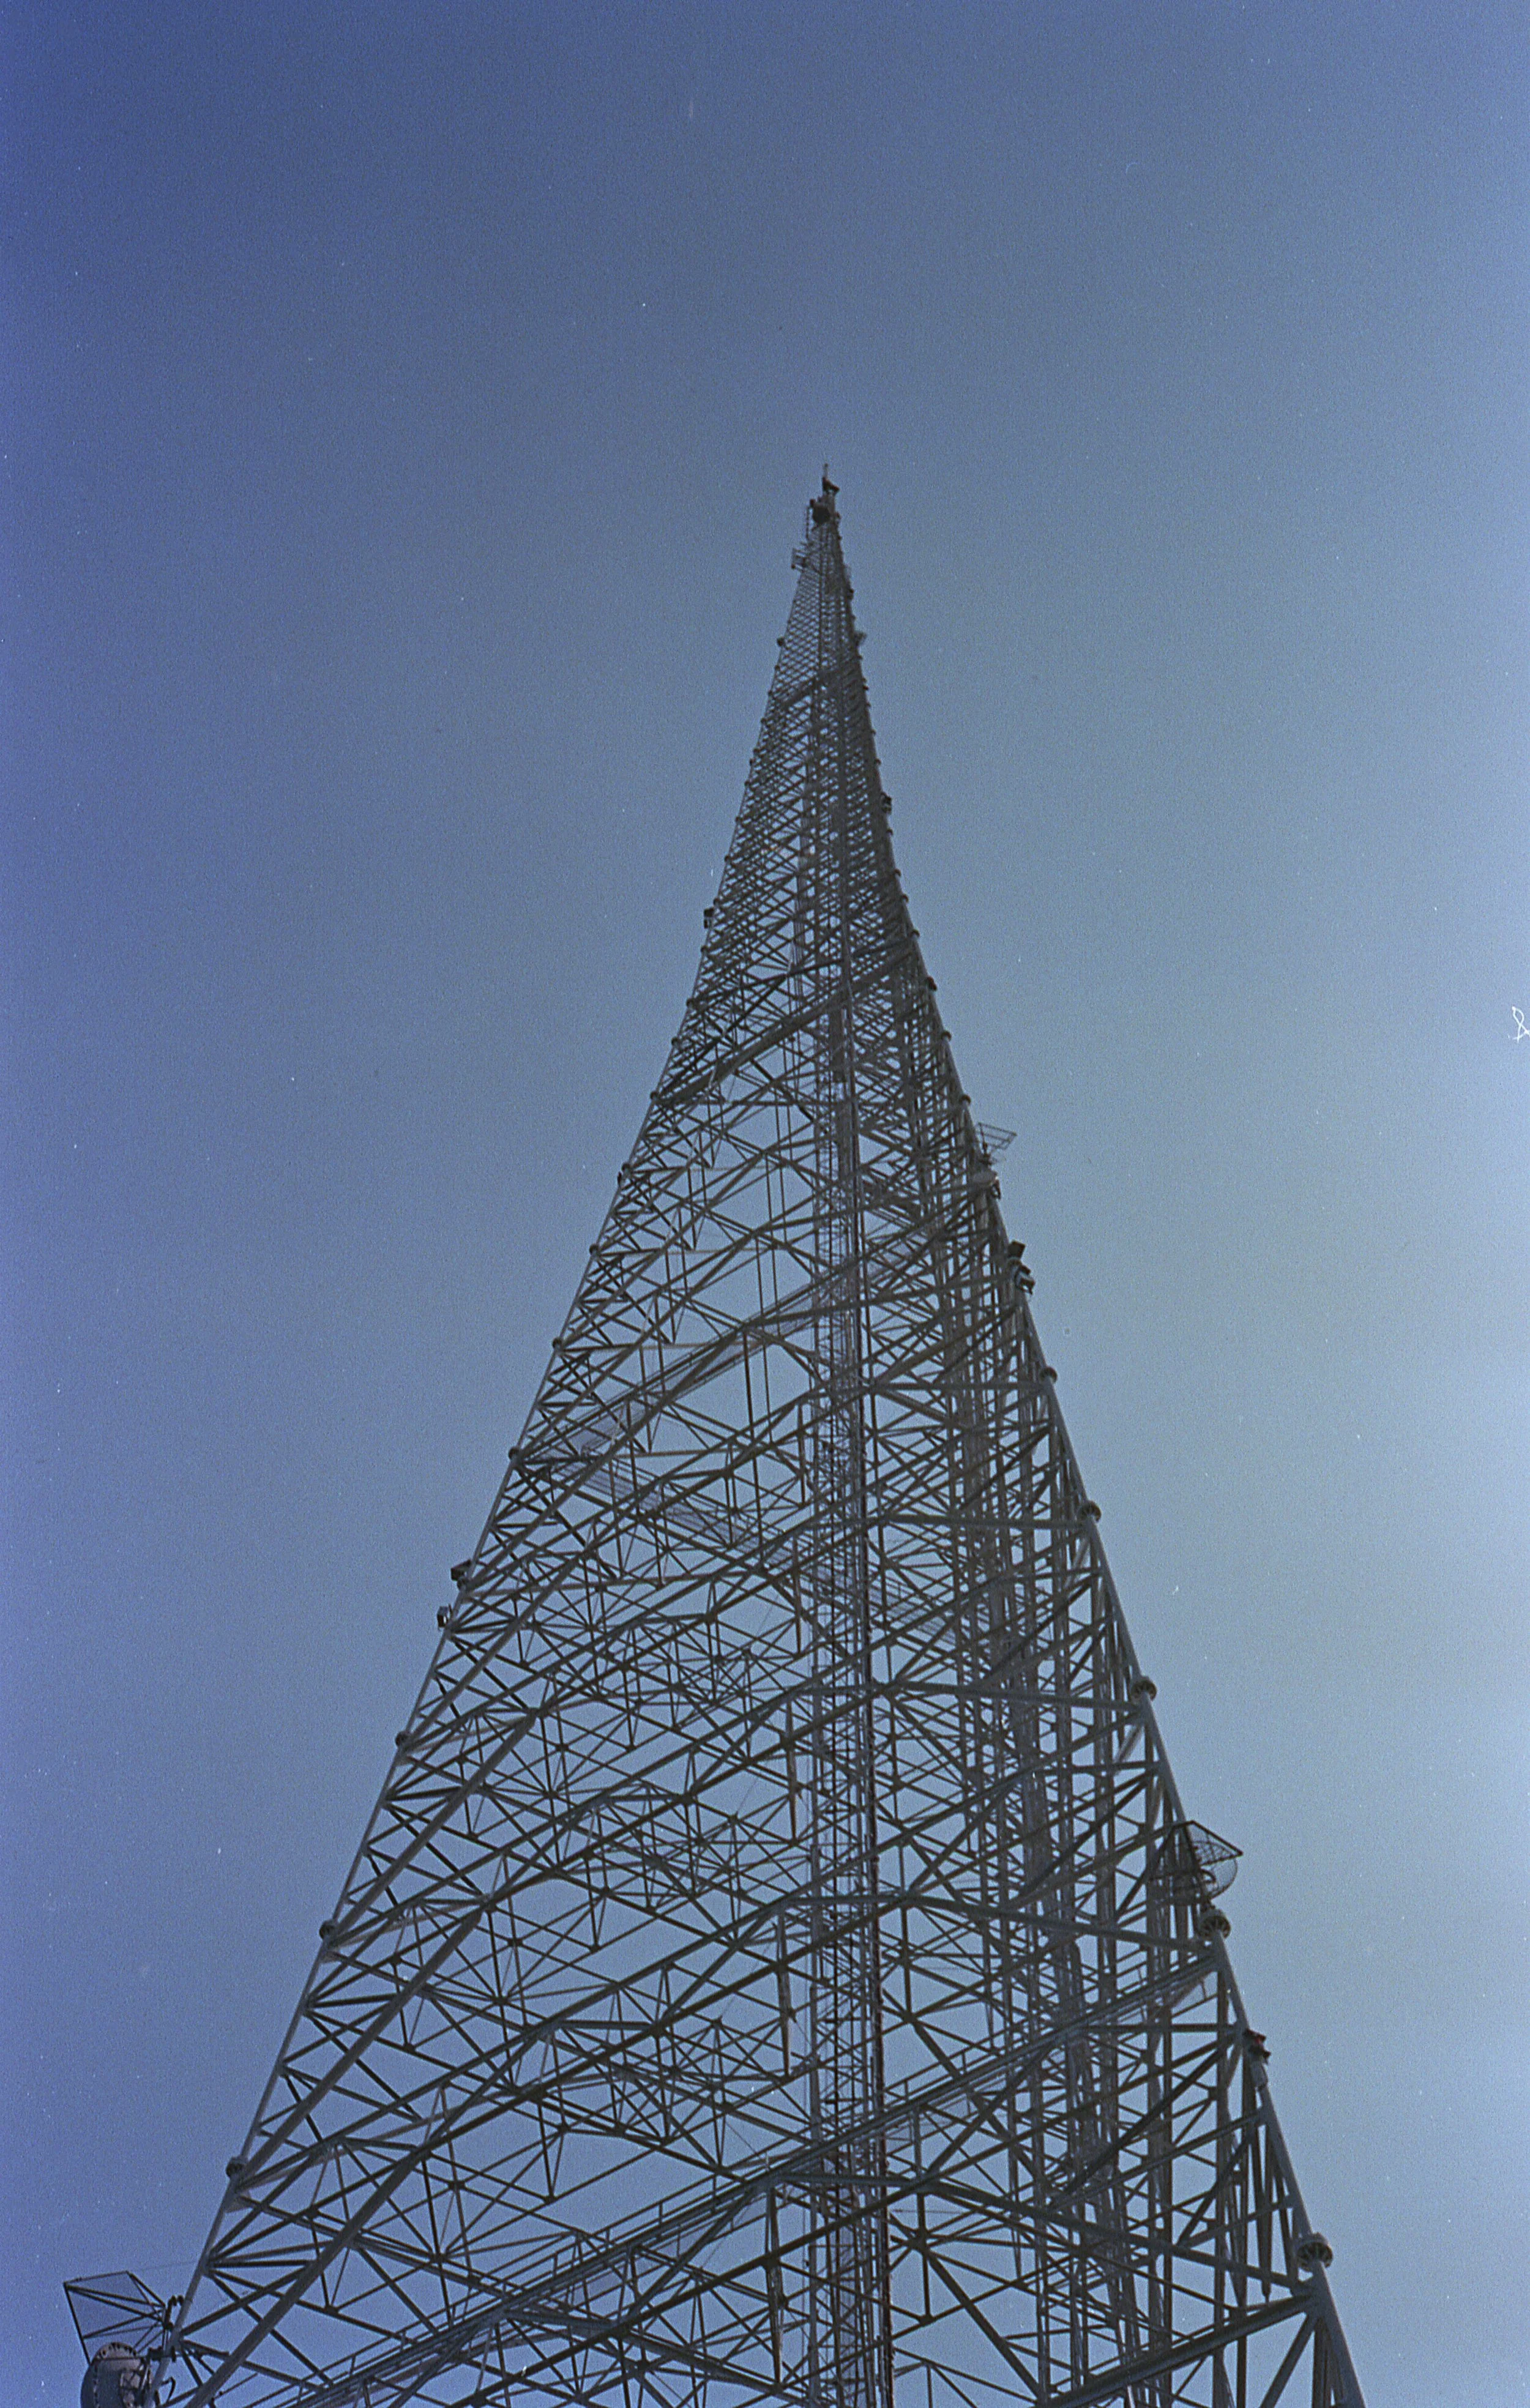
Next was a color film test, taking the EFP 2 with me on my first bike ride of the year. I chose a roll of Fuji Superia X-Tra 400 on a colder early morning in full sun. I took a few pictures along the path and at parks along the way, and it was a very pleasant ride, but maybe not the best looking lighting conditions. After a few miles I was about a third of the way through the roll, and I decided to take the camera out with me around town that night to grab a few more pictures. They turned out ok, and have a certain grainy look I can somewhat like. I really had to up the contrast in editing, and had some issues with lens flare too. That may be due to how bright of a day it was though. However, I feel black and white film may be better suited for this camera.
In line with other fixed focus cameras like the Ansco 2000 Micro 35, the EFP 2 is capable of excellent looking images. That is if you know how to shoot with it. It’s something I really struggled with initially until last year, but am finally starting to get the hang of it. There are a lot of these types of cameras, ranging from the 80s into the 2000s, varying wildly in build and image quality. This camera is one of the better ones without a doubt. Overall I enjoyed my time with the Konica EFP 2, but still need to work on getting better images with a limited camera. These are somewhat uncommon and can be a bit pricy, with similar costs for the original EFP and EFP 3. If you find yourself running across one, I would most certainly recommend you pick it up. It will challenge you to think about exposure in a completely different way.


